Last Updated: 10/4/22 | October 4th, 2022
Data security might sound like a daunting (and boring) subject, but it’s one every traveler needs to be familiar with. In this guest post, Dave Dean from Too Many Adapters shares his tips and advice on how to keep your data safe while you’re traveling the world.
If there’s a less-sexy travel subject than data security, I don’t know what it is. When you’re planning your trip and up to your elbows in guidebooks, maps, and blog posts about deserted beaches and delicious foods, it’s not going to be backup strategies or file encryption that gets your heart racing.
And that’s a bit of a problem.
If you’re going to be toting a smartphone, tablet, or laptop around the world, protecting your data really matters. It doesn’t take a huge effort or cost to keep yourself safe — but if you don’t, you’re at serious risk of losing all of your trip photos, having your identity stolen and accounts hacked, and giving yourself a technology headache that’s far more painful than a night drinking at the local hostel.
Below are a few detailed ways to back up your memories the right way, protect your data, and avoid common security mistakes. By following the tips and suggestions below, you’ll never be stressed about the technology and information you use and share on the road.
Avoid Public Computers
When I started traveling in the late ’90s, Internet cafes were pretty much the only way to get online. I still remember sitting hunched over a broken keyboard in a sweaty little shop in Dar es Salaam, dust and fumes from the nearby road forming a murky haze as I battled with the slowest connection in the world to let my family know I was still alive.
Decades later, most of those dusty cafes have since shut down. From a security standpoint, that’s a good thing. Those ramshackle old desktops in Internet cafes or the corner of the hostel common room may as well have a big sign on them saying “Please Steal My Data.”
Why?
- They’re typically full of all kinds of unknown software installed by staff and customers over the years.
- Security and virus updates don’t get done — nobody cares enough to maintain things properly. I once scanned a hostel computer for viruses just to amuse myself but stopped after it found 50 in the first couple of minutes.
- It’s very easy to install key-logging software that will capture everything you type, sift through it for anything that looks like usernames and passwords, and send it off for others to use.
In short, avoid using public computers for anything other than random browsing. Don’t log into your email, bank account, or social media.
If you absolutely must use a public computer, there are a few ways to make it a little safer:
1. Don’t do anything involving money. This means that online banking and shopping are off-limits. Avoid entering your credit card details.
2. Use two-factor authentication for as many online services as possible. These combine something you know (like a password) and something you have (an SMS message, phone, fingerprint scanner, or special app) to create single-use passwords. Even if your account information is stolen, nobody else can use it to log in.
SMS-based authentication systems can be a problem for travelers, especially if your phone doesn’t work overseas, so check out other options like the Google Authenticator app for your phone or tablet first.
3. USB sticks can help. If you travel with your own laptop or Android device and need to print something out, copy the file onto a memory stick beforehand and use that, rather than logging onto email on a shared computer. You can also copy software you’re likely to need onto a USB stick, and use that instead of the dubious versions installed on the computer you’re using.
Even just using a browser like Firefox Portable or Chrome Portable is a good start. Check out Portableapps.com to see the range of portable software that’s available. Just remember to scan your USB stick for viruses regularly from a device you trust.
4. Use Incognito/Private Browsing mode. This will keep your details from being saved. Additionally, be sure to log out of all of the apps you use and reboot the computer when you’re finished with it just to be safe.
Be Wary Using Public Wi-Fi
Cafés, hostels, airports, and even parks and public spaces often offer cheap or free Wi-Fi that anyone can use. Sometimes it’s hard to know where a signal is even coming from, but if we can see it, you can bet we’ll try to use it.
That’s where the problems start.
By default, much of your information is visible to anyone with the right tools as it moves across a wireless network. Networks that need a password aren’t much better than those that don’t — how many people have been given the details for your hostel’s Wi-Fi this month? When was that password on the café chalkboard last changed?
You have to assume that other people can connect to the network you’re using. Once they’ve done that, any data you don’t protect are at risk. Someone can literally sit drinking a coffee in the corner while their computer scans and saves your personal information.
So what should you do?
First, always use a Virtual Private Network (VPN) when you’re abroad. In simple terms, a VPN lets you connect to a server somewhere else in the world and encrypts all of the information that passes between you and it.
Good free options include TunnelBear and Windscribe, both of which can also be upgraded to unrestricted paid services.
Additionally, be sure to look for a service that can be used with both laptops and mobile devices concurrently (so you can use both at the same time), and that specifically says it works in China. If it works there, it’s likely to work anywhere.
If for some reason you can’t use a VPN, at least protect your web browsing. While most sites have upgraded to the more secure “HTTPS” format, many sites still use the less-secure “HTTP” format. Avoid these unsecured sites whenever possible (if you see a small padlock beside the website URL in the browser search box, then your data is safe and secure.)
Lastly, keep in mind that it’s much harder to intercept cellular networks than Wi-Fi. If you’re doing anything sensitive and have access to reasonably-priced cell data on your phone or tablet, use it.
Backup Your Data
Backing up your data while traveling is boring. Let’s face it, there’s always something much more interesting to do…right up to the point where you lose the thousands of photos you’ve taken on your trip.
Laptops get stolen, hard drives break, phones get dropped in the toilet, memory cards get corrupted. Bad things happen, and you need to prepare for them. Buying travel insurance might help offset the cost of purchasing new items, but it won’t get your photos or data back.
There’s an old saying among geeks like me that data stored in one place doesn’t really exist. For travelers, this generally means copying new files to a different device as soon as possible and to somewhere online not long after that.
There are many different approaches you can take, depending on the gear you travel with and what you need to back up. I’ll cover a couple of common scenarios, and you can find more detail here, here and here.
Traveling with a Laptop?
Before leaving on your trip, pick up a portable hard drive (they cost as little as $75 USD). Each night, copy the day’s photos from your camera or smartphone, then plug your hard drive in and back everything up. Now, even after you delete shots from your phone or camera SD card, you’ve still got two copies of them.
Theft, fire, or water damage can easily take out your camera, laptop, and portable drive all at once. To be completely safe, you also need an online backup. Free options like Dropbox, iCloud, and Google Drive are fine for storing a limited number of photos, and I used them for a couple of years.
If you’re using a Mac, the built-in Time Machine does a good job of managing hard drive backups automatically. If you only want to copy photos, documents, and music to online storage, iCloud may fit your needs — you get 5GB of space for free and can easily buy more.
Don’t Travel with a Laptop?
If you’ve decided not to carry a laptop on your trip, backing data requires a slightly different approach. The first challenge is copying photos from your camera to a smartphone or tablet. Here’s how to do it for both Android and Apple devices, as long as you’ve got enough storage.
Once you’ve transferred your photos, it’s time to back them up to a different device. There are different ways to do this, but the easiest option is to buy an external hard drive that creates its own hotspot, then use the app it comes with to copy files backward and forward. Added bonus: this is also a great way of carrying around a large movie or music collection without filling up your smartphone or tablet.
The easiest part of the process is backing your shots up online — it’ll even happen automatically if you copy the files from your camera into the right folder on your phone or tablet. Those with Apple devices can just enable iCloud, while Android users can achieve the same thing with the Dropbox. In either case, just pay for as much additional cloud storage as you need — it’ll be a few dollars a month in most cases.
Lastly, buy travel insurance. Again, while it won’t save your photos should something happen, it will reimburse you for any lost, damaged, or stolen gear. I never leave home without it. You shouldn’t either!
Protect Your Data
Sometimes bad things happen no matter how careful you are. Laptops, tablets, and phones are attractive targets for thieves. While you can’t always prevent someone from stealing your gear, you can at least take a few precautions to stop them from accessing your data as well.
Always use a PIN or Password
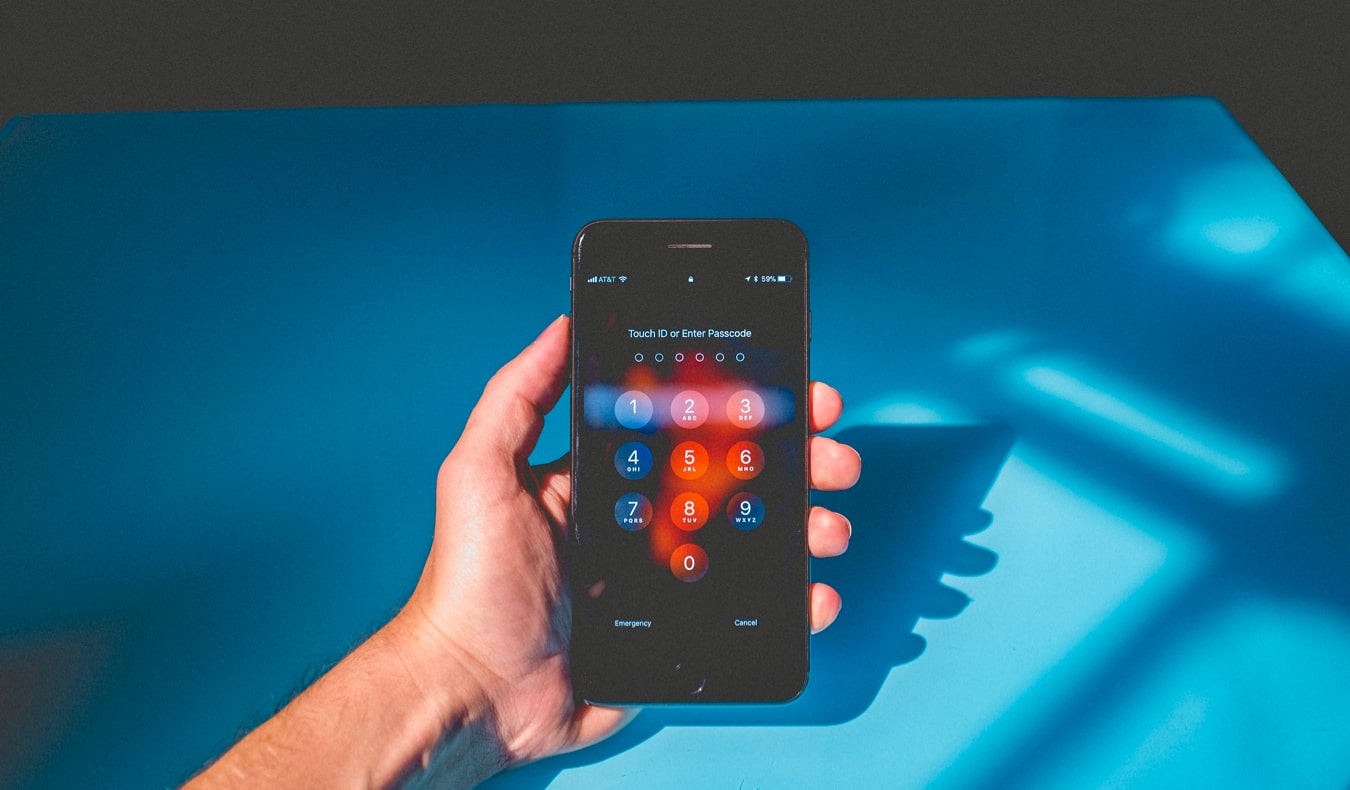
The first step is to always set up a PIN code or password on your device. It only takes a few seconds to do and is a good deterrent to casual thieves. On your laptop, use a long password that doesn’t appear in a dictionary and isn’t easily guessable. If your phone or tablet supports PIN numbers longer than four digits, use one — and if you’re using a current model of iPhone or iPad, enable the Touch ID fingerprint scanner as well.
Enable Encryption
If PIN numbers and passwords are good for keeping casual eyes off your personal information, encryption does the same thing for more determined snoops. Even if someone pulls the hard drive out of your laptop or manages to bypass your PIN number, your data remains protected. Without the right password, your information is just a collection of random characters. It’s easy to set up on most devices, and is or soon will be enabled by default on new iOS and Android devices.
- If you’re using a Mac, enable File Vault.
- For those running Windows, use BitLocker.
- To enable encryption on recent versions of Android, go to Settings > Security > Encrypt Phone and follow the instructions.
Bear in mind that encrypting all your data can take several hours, so don’t start the process if you’re going to need to use your device any time soon.
Tracking and Remote Wiping
Software like Prey, Find My iPhone, and Android Device Manager all offer various features for tracking down your stolen gear. They can report their location, take photos and video, sound alarms, display messages on the screen, and more.
Make sure they’re set up and working correctly before your gear goes missing!
If all else fails and you’ve decided that your gadgets just aren’t coming back, you can also tell any of the above software to remotely delete everything on your device the next time it connects to the Internet. At least that way you only need to mourn the loss of your technology, and not your personal information as well!
A Few Parting Tips
As well as everything covered above, there are a few other basic tips that will help you keep your data safe on the road:
1. Use antivirus software to keep the bad guys out. AVG makes a good, free anti-virus system that I’ve been using for years on both Windows and Android (it’s on Mac now as well). Mac users can also use Avast (which also has a free and paid version).
2. Update your device and software regularly. In other words, don’t ignore those annoying prompts to install security patches and new software versions — they’re there for a reason! Wait until you’ve got a decent Internet connection, then let them run.
3. Have a master password. Rather than using the same terrible password for everything, use a password manager to create unique, super-strong passwords for all of the different websites and services you use. I personally use Lastpass, but there are several other options. I now only need to remember one master password — the one for Lastpass itself.
Keeping your data safe, secure, and protected when you travel doesn’t have to be hard work. Spend a little time and money setting everything up properly before you leave, and you’ll need to do almost nothing extra day to day. Backups start automatically and only take a few minutes if you do them regularly. Staying safe on dubious Wi-Fi connections takes two clicks, and creating strong passwords is even easier. Encryption takes care of itself once you set it up.
And doing all that is better than having your identity stolen, your bank accounts hacked, and watching every photo you’ve taken on your trip disappear off the back of a tuk-tuk.
Dave runs Too Many Adapters, a site devoted to technology for travelers. A geek as long as he can remember, he worked in IT for 15 years. Now a traveler, Dave writes about travel and tech from anywhere with half-decent Internet and a great view. You can also find him talking about the life of a long-term traveller at What’s Dave Doing?
Book Your Trip: Logistical Tips and Tricks
Book Your Flight
Find a cheap flight by using Skyscanner. It’s my favorite search engine because it searches websites and airlines around the globe so you always know no stone is being left unturned.
Book Your Accommodation
You can book your hostel with Hostelworld. If you want to stay somewhere other than a hostel, use Booking.com as it consistently returns the cheapest rates for guesthouses and hotels.
Don’t Forget Travel Insurance
Travel insurance will protect you against illness, injury, theft, and cancellations. It’s comprehensive protection in case anything goes wrong. I never go on a trip without it as I’ve had to use it many times in the past. My favorite companies that offer the best service and value are:
- SafetyWing (best for everyone)
- Insure My Trip (for those 70 and over)
- Medjet (for additional evacuation coverage)
Want to Travel for Free?
Travel credit cards allow you to earn points that can be redeemed for free flights and accommodation — all without any extra spending. Check out my guide to picking the right card and my current favorites to get started and see the latest best deals.
Need Help Finding Activities for Your Trip?
Get Your Guide is a huge online marketplace where you can find cool walking tours, fun excursions, skip-the-line tickets, private guides, and more.
Ready to Book Your Trip?
Check out my resource page for the best companies to use when you travel. I list all the ones I use when I travel. They are the best in class and you can’t go wrong using them on your trip.


